How To Set-Up
Before you can run the scripts, there is to lay some groundwork first.
Prerequisites
Before you start:
- Have your Raspberry Pi 500 up and running
- Have a basic understanding of how to work with the Raspberry Pi
- Have ssh up and running (via raspi-config)
- Know what the Linux command line interface is and how to work with it
- Know what a shell script is
- Know what sudo is and how it works
- Know the basics about Linux users and the file permission system.
- Have an ssh-client installed on your main computer or know how to start an ssh connection in a terminal session
- Connect your Raspberry Pi 500 to your home network
- via Wi-Fi (okay)
- with a LAN cable (better)
- Be able to log into your Raspberry Pi's desktop by
- having a display attached
- by using a VNC Client
- by using Raspberry Pi Connect
If you do not use a Raspberry Pi 500, be prepared to use this write-up more like a hint how it can be done and be prepared to work out your own way to a functional tool-chain.
If you are not yet familiar with Linux systems, consider asking friends to help you to get started.
Creating (Almost) Live Transcripts
From Voice to Text
Discord (Legcord)
   ↓
PipeWire graph
   ↓
discord_sink (virtual null sink)
   ↓
discord_sink.monitor (loopback source)
   ↓
whisper_mic (remap-source, mono, 16kHz)
   ↓
ffmpeg
   ↓
audio.wav (growing file)
   ↓
whisper-stream
On the device used for transcription, a Discord client (Legcord) is running and joins the session's Discord voice channel. Legcord's audio output is moved to a virtual null sink (named discord_sink) via PipeWire. The sink's loopback source (discord_sink.monitor) is remapped by whisper_mic and fed into ffmpeg.
Whisper-stream uses the wav file created by ffmpeg to create the transcript.
Using a minimal language model (tiny.en), the voice input is transcribed with a delay of 5 to 10 seconds.
Structure
meetings/
├── bin/
│   ├── meeting-start          # starts recording + live transcription
│   ├── meeting-stop           # stops recording, asks for meeting name, renames files
│   ├── meeting-follow         # follow transcript while it is being written
│   └── summarize-meeting      # create post-meeting summaries (planned, not yet realized)
│
├── lib/
│   ├── paths.sh               # creates session dirs + defines file paths
│   └── whisper.sh             # whisper.cpp binary, model, ASR parameters
│
└── recordings/
    └── 2026-02-21T013852/     # session directory (created on meeting-start)
        ├── audio.wav          # raw system audio recording
        ├── transcript.txt     # live transcript (grows during meeting)
        ├── meta.env           # session metadata (PIDs, language, timestamps)
        ├── 2025-03-24T1930_project-sync_transcript.txt   # the actual renamed transcript
        ├── 2025-03-24T1930_project-sync_audio.wav        # (see data protection discussion)
        └── summary.md         # created by summarize-meeting (planned, not yet realized)
Description of Paths and Scripts
Paths
Path: meetings/bin/
- Executable scripts.
Path: meetings/lib/
- Scripts to be used by the executable scripts.
Path: meetings/recordings/
- Subdirectories (ISO timestamp format) containing:
- Audio files (should be deleted after the transcript has been written)
transcript.txt(renamed and timestamped after the meeting's end by themeeting-stopscript)meta.env(Meeting information)- PIDs
- language used
- the meeting's timestamps
summary.md(meeting summary in Markdown format)
Scripts (current architecture)
TranscriptOMatic is implemented as a small set of composable shell scripts. Each script has a clearly defined responsibility within the session lifecycle. No script relies on implicit system state or hard-coded audio devices.
Library scripts (meetings/lib/)
meetings/lib/paths.sh
Responsible for session creation and path management.
On invocation, it:
- creates a new session directory
~/meetings/recordings/<ISO_TIMESTAMP>/-
defines canonical file locations:
-
audio.wav -
transcript.txt -
meta.env
-
-
provides these paths to all other scripts
This script is the only place where session directories are created.
meetings/lib/whisper.sh
Defines the speech recognition backend configuration.
It contains:
-
the path to the local
whisper.cppinstallation -
model selection (language-specific vs. multilingual)
-
streaming parameters
-
threading configuration suitable for a Raspberry Pi–class system
The setup is explicitly optimized for live transcription using whisper-stream, not for batch processing.
No audio devices are referenced here.
Executable scripts (meetings/bin/)
meeting-start
Starts a new live transcription session.
Responsibilities
- Session initialization
- creates a new session directory via
paths.sh - writes the active session path to
~/meetings/recordings/.current
- creates a new session directory via
-
Audio graph setup (PipeWire)
- ensures a persistent null sink (
discord_sink) - routes Discord audio into that sink
- exposes the sink monitor as a virtual microphone (
whisper_mic)
- ensures a persistent null sink (
- Processing
- records audio from
whisper_micviaffmpeg - performs (almost) live transcription using
whisper-stream - appends output to
transcript.txt
- records audio from
- State tracking
- writes all relevant runtime information (PIDs, module IDs, paths) to
meta.env
- writes all relevant runtime information (PIDs, module IDs, paths) to
Usage
meeting-start --en # force EnglishPlanned, not yet realized:
meeting-start --de    # force German (planned, not yet realized)
meeting-start --auto  # auto-detect language (planned, not yet realized)
meeting-start is self-contained: it does not require any pre-existing audio configuration and can be run after a reboot.
meeting-follow
Passively follows the live transcript of the currently active session.
Behaviour
- waits for the presence of
~/meetings/recordings/.current - reads the active session path from that file
- waits until
transcript.txtexists - follows the transcript in real time
This allows meeting-follow to be started:
- before meeting-start
- over SSH
- in a shared terminal window
It will never attach to archived sessions.
Usage
meeting-follow # stop with ctrl+cmeeting-stop
Stops the active transcription session and finalises all session files.
Responsibilities
- Process teardown kills the FFmpeg and whisper-stream processes via their stored PIDs
- State clean-up removes
~/meetings/recordings/.currentunloads thewhisper_micremap-source module from PipeWire - File finalisation prompts for a meeting name and slugifies it
- renames transcript.txt and audio.wav to timestamped, named files (e.g. 2025-03-24T1930_project-sync_transcript.txt)
To prevent accidental deletions, meeting-stop does not delete files automatically. To maintain data protection, recording files have to be deleted by hand.
Usage
meeting-stop # stops the most recent sessionPreparing the Environment
How to set up Discord, sound, whisper.cpp and everything else.
Installing Pi-Apps
To install the Pi-Apps app store for Raspberry Pi, follow the instructions on their website:
wget -qO- https://raw.githubusercontent.com/Botspot/pi-apps/master/install | bashCheck the URL before running — piping directly to bash executes code without review.
The installed app store will reside in your home directory:
$HOME/pi-appsApps installed via Pi-Apps usually can be found in /opt. Keep in mind that /opt might be missing from the shell's PATH.
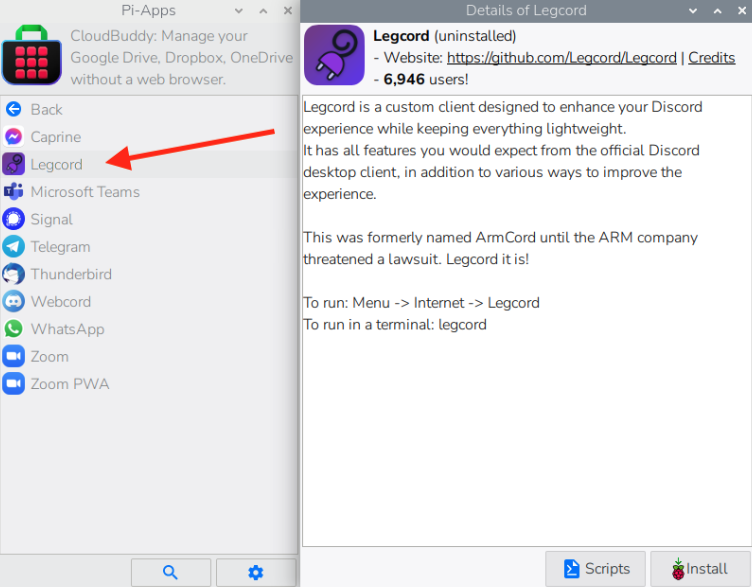
Installing and Setting-Up Legcord
The official Discord client currently isn't available for devices operating ARM processors on Windows or Linux2. The app Legcord will act as a replacement.
Installation
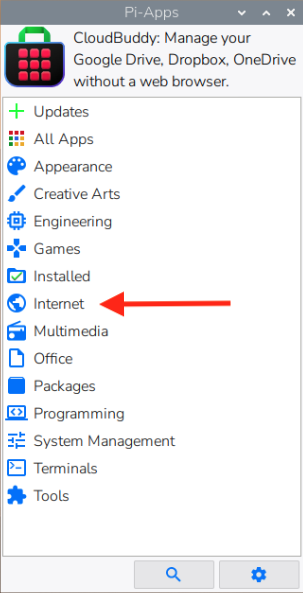
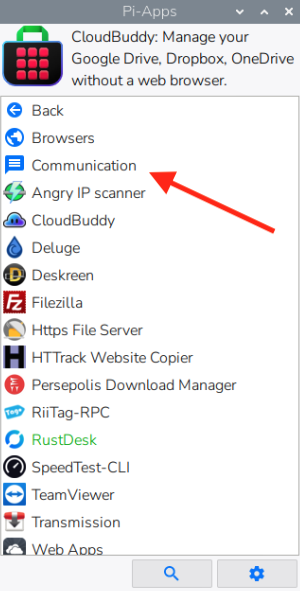
Open Pi-Apps and go to Internet → Communication → Legcord to install.
Post-Installation Set-up
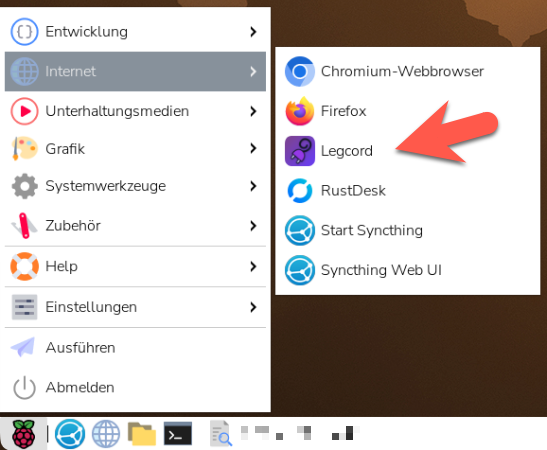
Start Legcord from the applications menu in the upper-left corner. This will start Legcord via the /opt/Legcord/legcord-wayland.sh script and thus with the right settings for the Raspberry Pi Wayland GUI. (Path may vary depending on the installed version.)
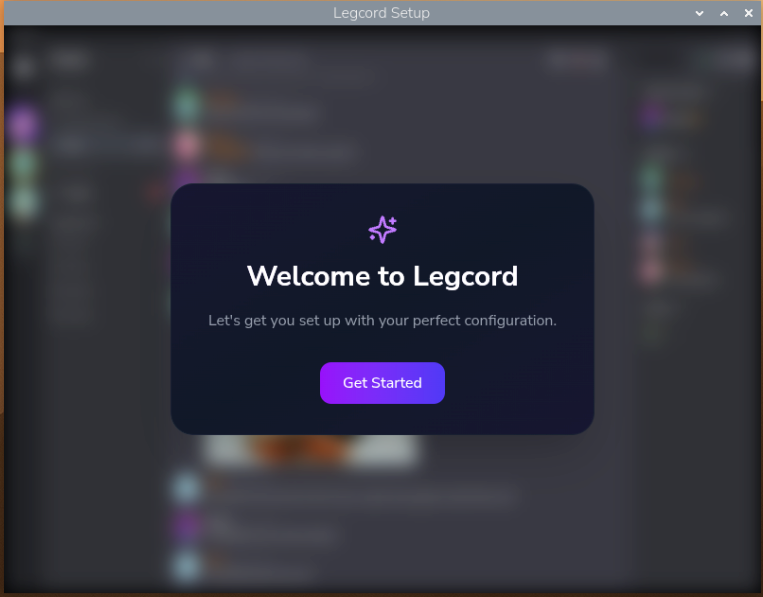
When starting Legcord for the first time, you'll be asked to set some basic options.
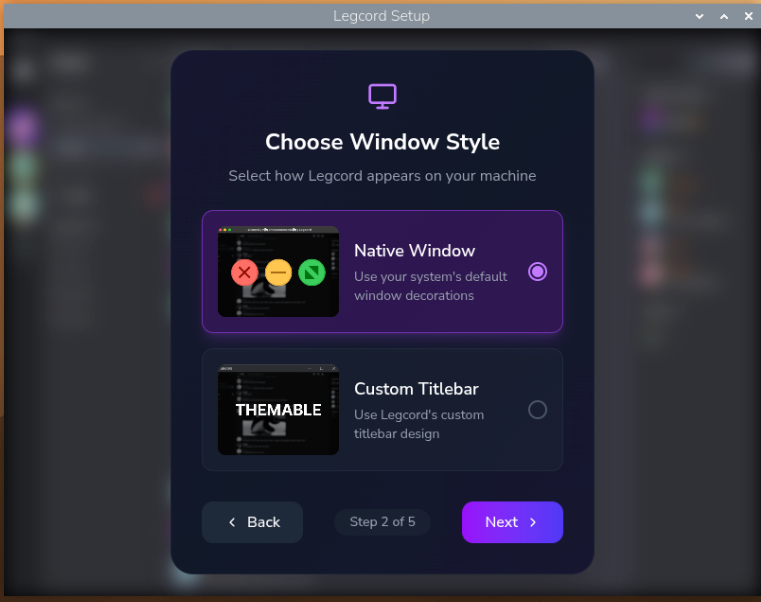
I chose the native windows style to limit possible compatibility problems down the line and to work in an environment that I'm already used to.
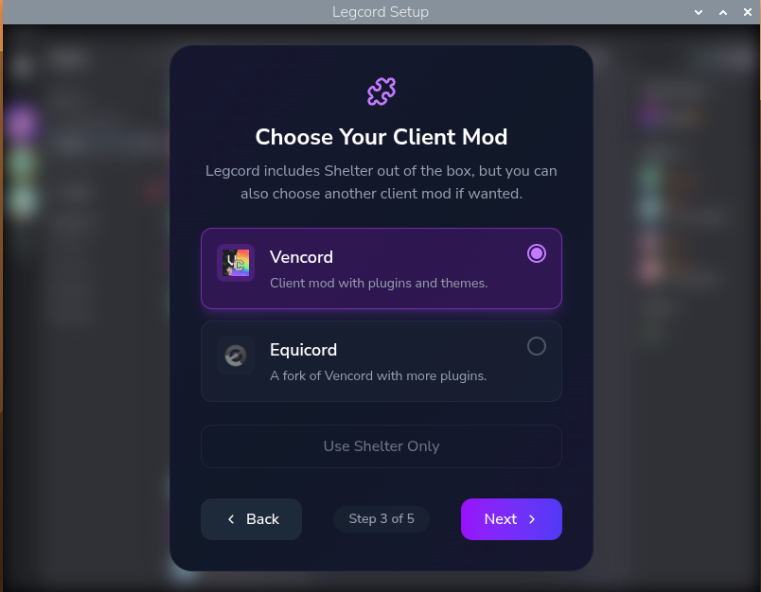
I've chosen Vencord over Equicord for stability and to prevent against getting my account banned for breaking Discord's Terms of Service.
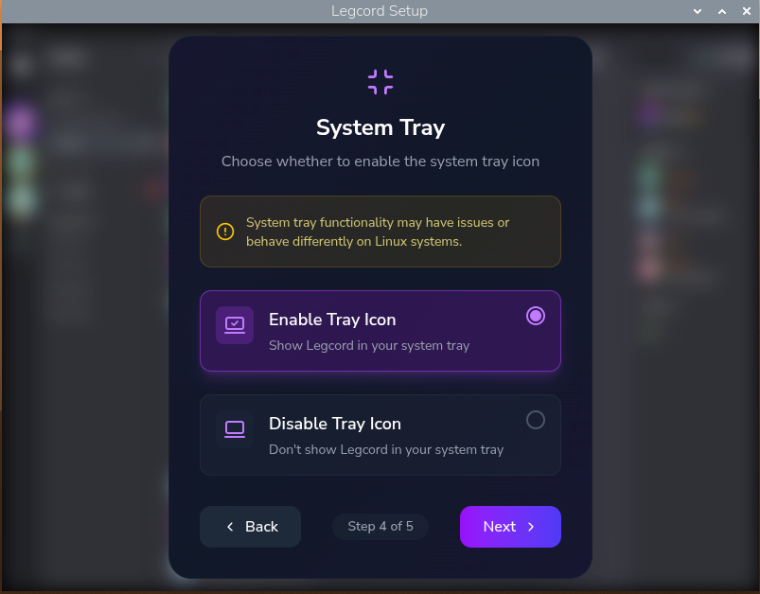
I've chosen to enable the system tray icon as a personal preference.
2) There is an official Discord client for macOS on ARM processors, though.
Creating a Dedicated Discord Account
To limit the complexity and to not have to deal with mapping and capturing several audio devices, I chose to create a new Discord account that is solely used for running TranscriptOMatic. This is necessary because one account can't be joining a voice session from two devices or clients.
Apart from using a good password, consider using 2FA to secure the account.

People will sometimes see this secondary account as a bot.
It is not.
A bot offers functions that (most of the time) can be triggered in Discord or automatically without direct interaction by the owner of the bot.
In contrast, your dedicated second account has to be operated by a human - yourself - via a Discord client.
Installing and Building the Right whisper.cpp
Cloning the Github repository locally
cd ~
git clone https://github.com/ggerganov/whisper.cpp
Build additional libraries
sudo apt install -y libsdl2-devBuilding whisper-stream
The -j2 flag limits parallel build jobs to 2. Using -j4 or higher may cause the Pi to crash due to memory exhaustion.
cd ~/whisper.cpp
rm -rf build
cmake -S . -B build -DCMAKE_BUILD_TYPE=Release -DWHISPER_SDL2=ON
cmake --build build --target whisper-stream -- -j2Download the Right Model(s)
Download the tiny.en language model
→ this is the only model that will provide useful results on a Raspberry Pi 500
bash ~/whisper.cpp/models/download-ggml-model.sh tiny.enBetter hardware will support bigger language models.
Language Models: What is the difference?
Whisper.cpp provides several different language models. Execute the script ~/whisper.cpp/models/download-ggml-model.sh without parameters to see currently available models#:
mela@Cox:~/meetings/recordings/2026-02-21T013852 $ ~/whisper.cpp/models/download-ggml-model.sh
Usage: /home/mela/whisper.cpp/models/download-ggml-model.sh <model> [models_path]

Available models:
  tiny tiny.en tiny-q5_1 tiny.en-q5_1 tiny-q8_0
  base base.en base-q5_1 base.en-q5_1 base-q8_0
  small small.en small.en-tdrz small-q5_1 small.en-q5_1 small-q8_0
  medium medium.en medium-q5_0 medium.en-q5_0 medium-q8_0
  large-v1 large-v2 large-v2-q5_0 large-v2-q8_0 large-v3 large-v3-q5_0 large-v3-turbo large-v3-turbo-q5_0 large-v3-turbo-q8_0

___________________________________________________________
.en = english-only -q5_[01] = quantized -tdrz = tinydiarize
Models that only support English are least demanding of resources, especially memory. Multilingual models provide support for 99 different languages, and contain, as such, necessarily some overhead.
While multilingual models from tiny to large all support the same set of languages, the size of the model determines how well Whisper.cpp handles accents, mumbling, people talking over each other or specialist language.
Since this describes the typical TTRPG environment pretty well, smaller language models — while running on inexpensive hardware — will provide only limited results.
#) for an explanation of quantization and diarization look here
Audio Input (the Almost Easy Way)
How the TranscriptOMatic should operate is, to connect to Discord voice using a dedicated Discord account for this purpose. During sessions, the Discord client (Legcord) will join the discord voice session.
To reduce complexity, no microphone or speaker is attached to the device.
This setup makes it possible to capture only a single audio source. If you want to adapt this concept to a device you are actively using, you also need to capture your microphone input — Discord does not play your own voice back to you.
Preventing Interference
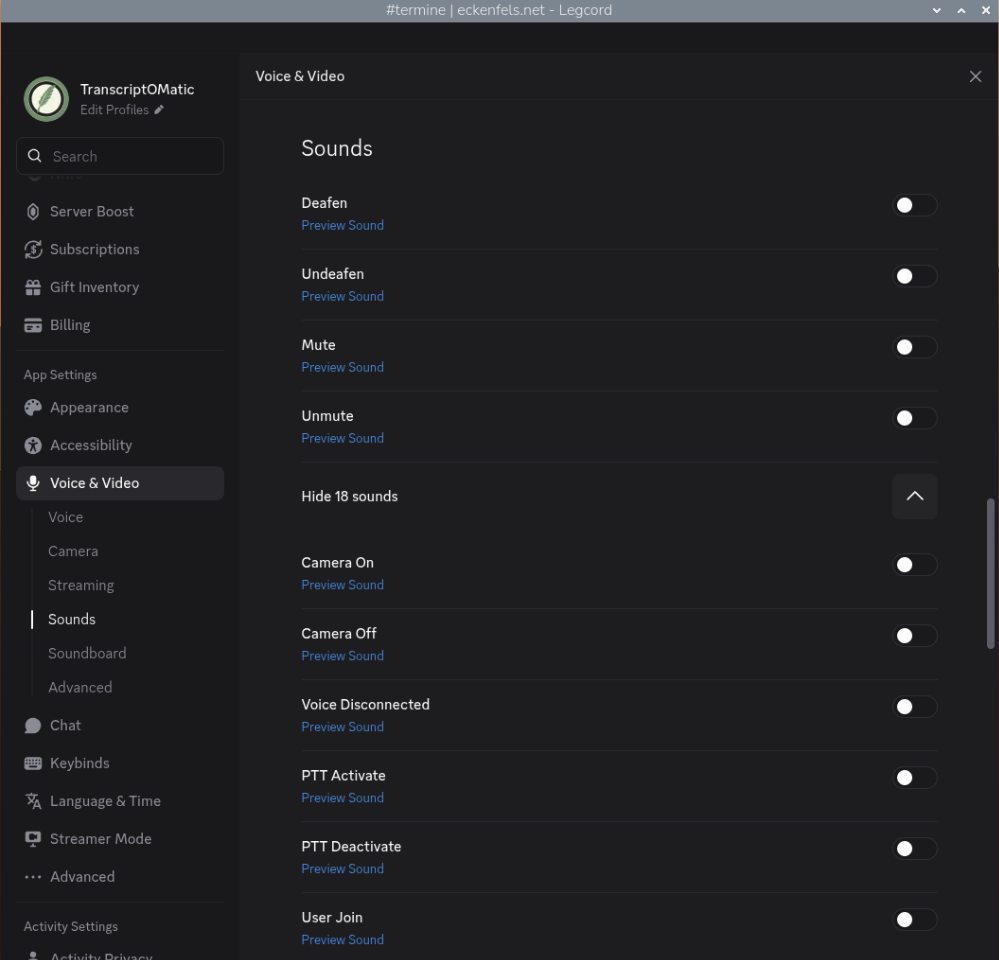
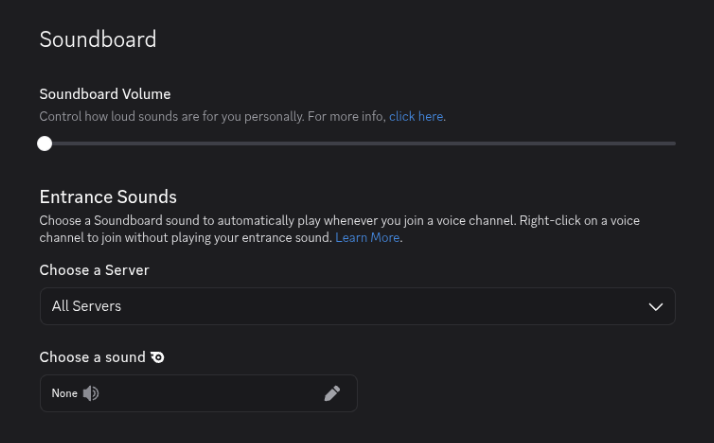
In Legcord, open the Discord Voice & Video settings:
- Setting all Sounds to off
- Setting the Soundboard Volume to off
Discord's notification sounds and soundboard audio would otherwise be picked up by the virtual microphone and fed into the transcription, giving you lower-quality results. This is especially relevant when working with a smaller model like tiny, which has less capacity to filter out irrelevant audio.
Setting-Up Files, Folders and Setting Permissions
Files & Folders
Create the recommended folder and file structure:
cd $HOME;
mkdir -p meetings/lib/ meetings/bin/ meetings/recordings/;
touch meetings/bin/meeting-start meetings/bin/meeting-stop meetings/bin/meeting-follow;
chmod 755 meetings/bin/meeting-start meetings/bin/meeting-stop meetings/bin/meeting-follow;
touch meetings/lib/paths.sh meetings/lib/whisper.sh;
Editing the Scripts
Enter the scripts' contents into the prepared files using your preferred editor.
If you are not comfortable using a command line editor like vi or nano, use any text or code editor on your main computer and copy the files by the way of scp or a (s)ftp client onto the Raspberry Pi 500.
Checking the Scripts Are Executable
Now check the permissions. meeting-start, meeting-stop and meeting-follow have to be executable. (This is done by chmod 755 above.)
ls -l meetings/bin/You should see a result like this:
mela@Cox:~ $ ls -l meetings/bin/
total 20
-rwxr-xr-x 1 mela mela  526 Jan 11 08:51 meeting-follow
-rwxr-xr-x 1 mela mela 4558 Feb 21 00:17 meeting-start
-rwxr-xr-x 1 mela mela 2596 Feb 21 00:24 meeting-stop
-rwxr-xr-x means the file is executable (for user, group and world).
Adding the Scripts to the PATH environment variable
Add $HOME/meetings/bin/ to the command line's path.
vi .bashrcAdd a last line:
export PATH="$HOME/meetings/bin:$PATH"Save, and close the editor. Then load the updated .bashrc into your active session by entering:
source .bashrc(Optional) Activating VNC
Consider this if you want to run TranscriptOMatic without a display hooked up to the device.
VNC allows you to access the Raspberry Pi desktop remotely from another computer.
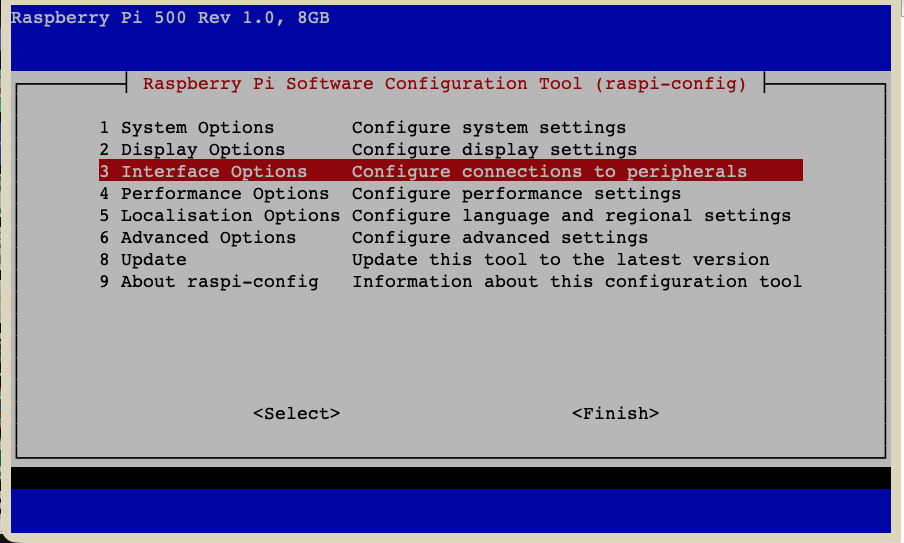
Log into your Raspberry Pi — either via ssh or via GUI, if you have a monitor (and keyboard) connected. On the GUI, open a terminal. Start raspi-config:
sudo raspi-config- Go to
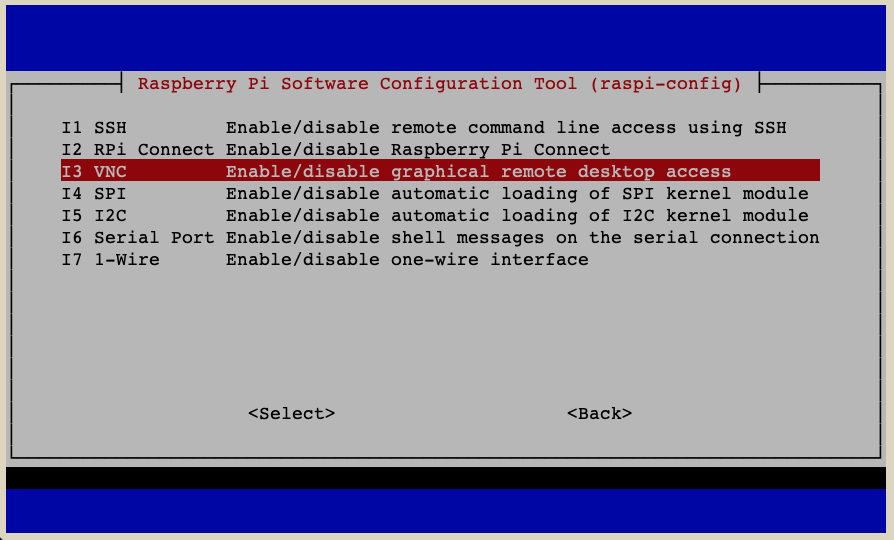
3 Interface Options - Go to
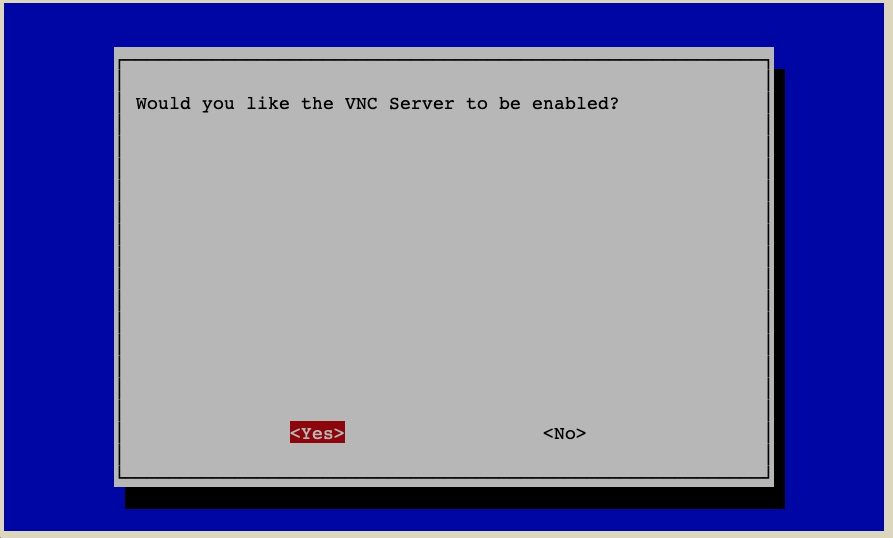
I3 VNC - Choose
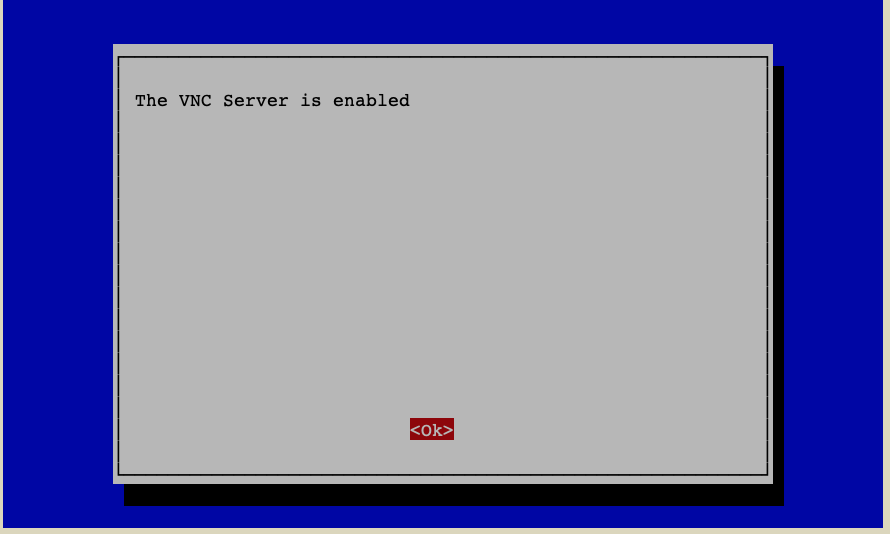
Yes - Leave
raspi-config