Check the URL before running — piping directly to bash executes code without review.
The installed app store will reside in your home directory: ```bash $HOME/pi-apps ``` Apps installed via Pi-Apps usually can be found in `/opt`. Keep in mind that `/opt` might be missing from the shell's `PATH`. # Installing and Setting-Up Legcord The official Discord client currently isn't available for devices operating ARM processors on Windows or Linux2. The app [*Legcord*](https://legcord.app/) will act as a replacement. ### Installation Open Pi-Apps and go to Internet → Communication → Legcord to install. [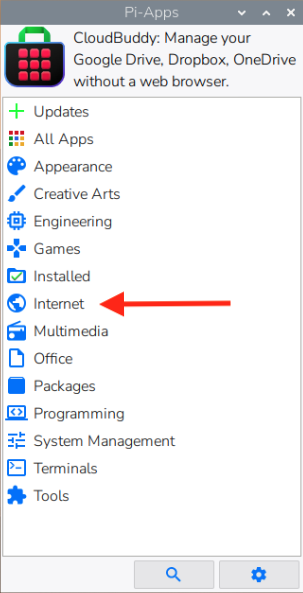](https://info.zusammenkunft.net/uploads/images/gallery/2026-02/pi-apps-menu-nvdmpabopj.png)[ 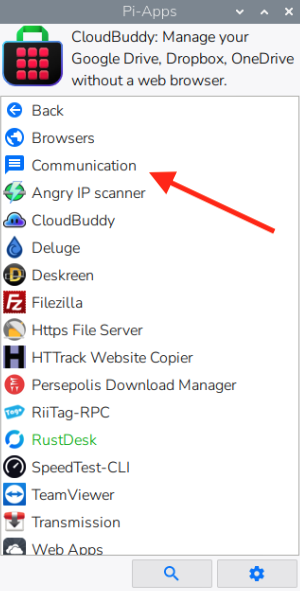 ](https://info.zusammenkunft.net/uploads/images/gallery/2026-02/pi-apps-menu-yhrxxsxiqo.png)[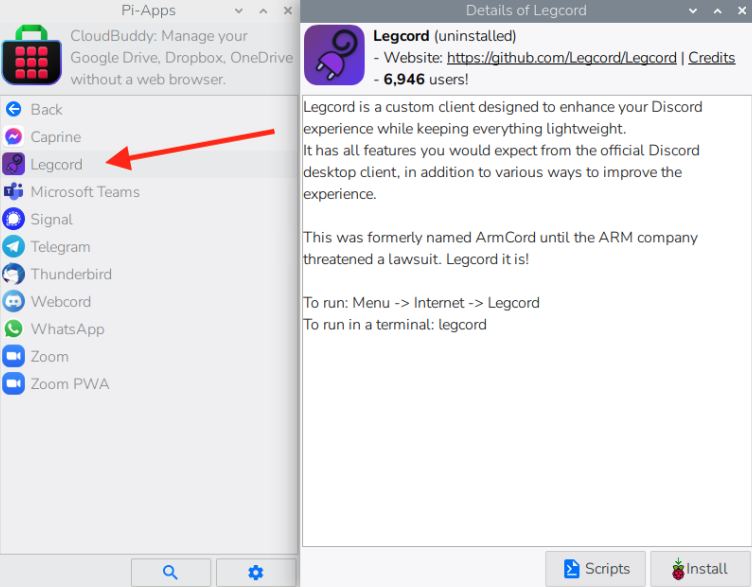](https://info.zusammenkunft.net/uploads/images/gallery/2026-02/legcord-installation-details.png) ### Post-Installation Set-up Start Legcord from the applications menu in the upper-left corner. This will start Legcord via the `/opt/Legcord/legcord-wayland.sh` script and thus with the right settings for the Raspberry Pi Wayland GUI. (Path may vary depending on the installed version.) [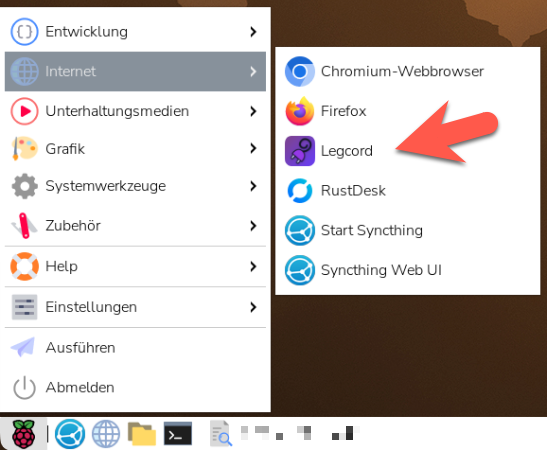](https://info.zusammenkunft.net/uploads/images/gallery/2026-01/raspberry-pi-internet-menu.png) When starting Legcord for the first time, you'll be asked to set some basic options. [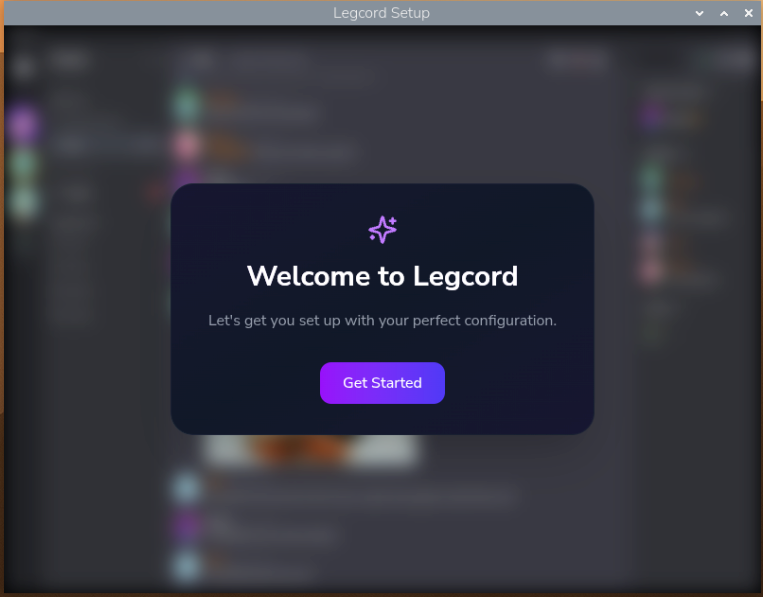](https://info.zusammenkunft.net/uploads/images/gallery/2026-01/welcome-to-legcord.png) [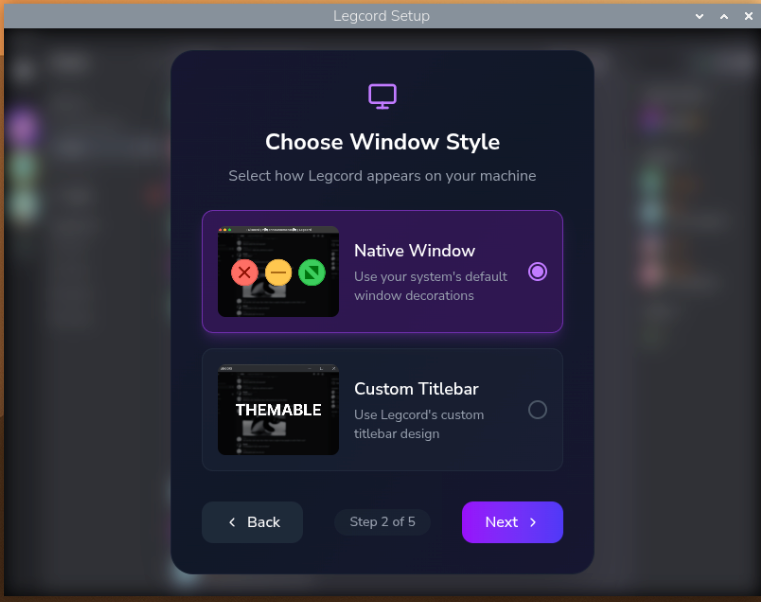](https://info.zusammenkunft.net/uploads/images/gallery/2026-01/legcord-setup-choose-window-style-plzg3agb2l.png) I chose the native windows style to limit possible compatibility problems down the line and to work in an environment that I'm already used to. [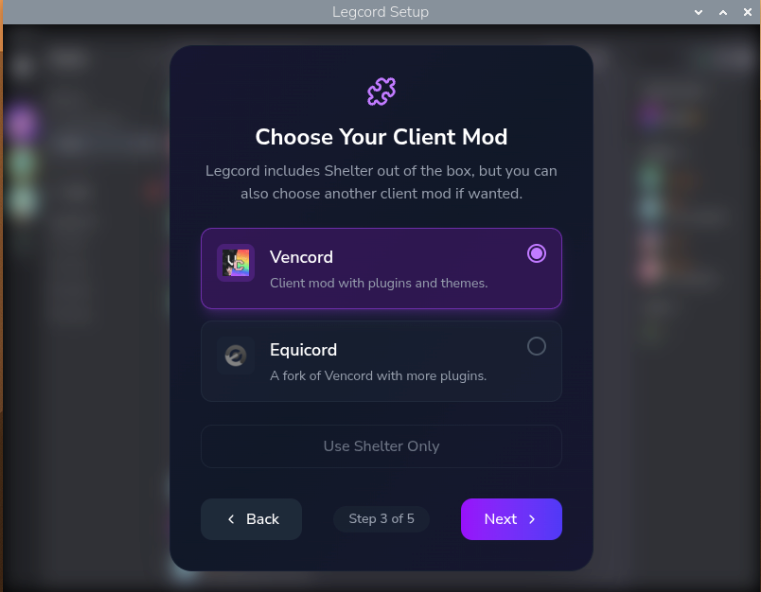](https://info.zusammenkunft.net/uploads/images/gallery/2026-01/legcord-client-mod-selection.png) I've chosen Vencord over Equicord for stability and to prevent against getting my account banned for breaking [Discord's Terms of Service](https://discord.com/terms). [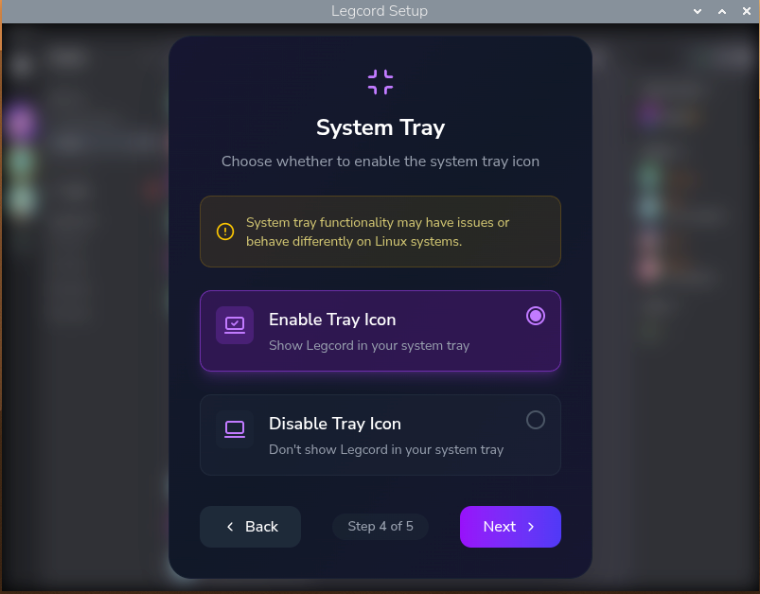](https://info.zusammenkunft.net/uploads/images/gallery/2026-01/legcord-setup-system-tray-options.png) I've chosen to enable the system tray icon as a personal preference. [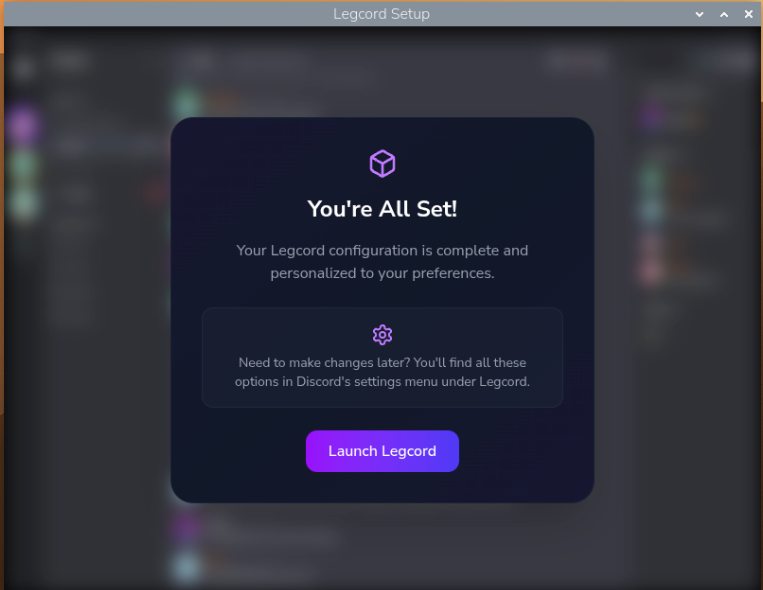](https://info.zusammenkunft.net/uploads/images/gallery/2026-01/legcord-setup-complete-j0magn-mg1.png) 2) There is an official Discord client for macOS on ARM processors, though. # Creating a Dedicated Discord Account To limit the complexity and to not have to deal with mapping and capturing several audio devices, I chose to create a new Discord account that is solely used for running TranscriptOMatic. This is necessary because one account can't be joining a voice session from two devices or clients. Apart from using a good password, consider using 2FA to secure the account. [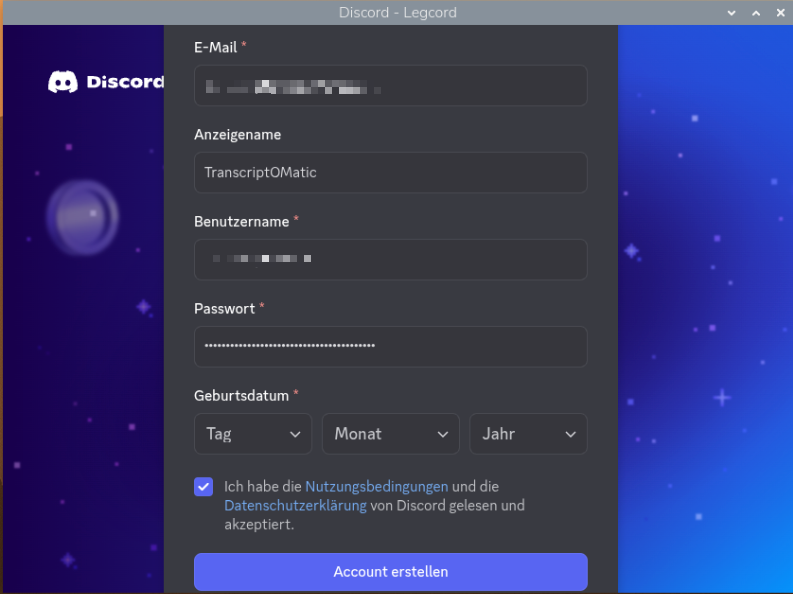](https://info.zusammenkunft.net/uploads/images/gallery/2026-01/discord-account-creation-form-obq-wilgoe.png)People will sometimes see this secondary account as a bot. It is not. A bot offers functions that (most of the time) can be triggered in Discord or automatically without direct interaction by the owner of the bot. In contrast, your dedicated second account has to be operated by a human - yourself - via a Discord client.
# Installing and Building the Right whisper.cpp ##### Cloning the Github repository locally ``` cd ~ git clone https://github.com/ggerganov/whisper.cpp ``` ##### Build additional libraries ``` sudo apt install -y libsdl2-dev ``` ##### Building `whisper-stream` The `-j2` flag limits parallel build jobs to 2. Using `-j4` or higher may cause the Pi to crash due to memory exhaustion. ``` cd ~/whisper.cpp rm -rf build cmake -S . -B build -DCMAKE_BUILD_TYPE=Release -DWHISPER_SDL2=ON cmake --build build --target whisper-stream -- -j2 ``` # Download the Right Model(s) **Download the tiny.en language model** **→ this is the only model that will provide useful results on a Raspberry Pi 500** ```bash bash ~/whisper.cpp/models/download-ggml-model.sh tiny.en ``` Better hardware will support bigger language models. #### Language Models: What is the difference? Whisper.cpp provides several different language models. Execute the script `~/whisper.cpp/models/download-ggml-model.sh` without parameters to see currently available models\#: ```bash mela@Cox:~/meetings/recordings/2026-02-21T013852 $ ~/whisper.cpp/models/download-ggml-model.sh Usage: /home/mela/whisper.cpp/models/download-ggml-model.shThis setup makes it possible to capture only a single audio source. If you want to adapt this concept to a device you are actively using, you also need to capture your microphone input — Discord does not play your own voice back to you.
# Preventing Interference In Legcord, open the Discord Voice & Video settings: - [ ] Setting all Sounds to off - [ ] Setting the Soundboard Volume to off Discord's notification sounds and soundboard audio would otherwise be picked up by the virtual microphone and fed into the transcription, giving you lower-quality results. This is especially relevant when working with a smaller model like `tiny`, which has less capacity to filter out irrelevant audio. [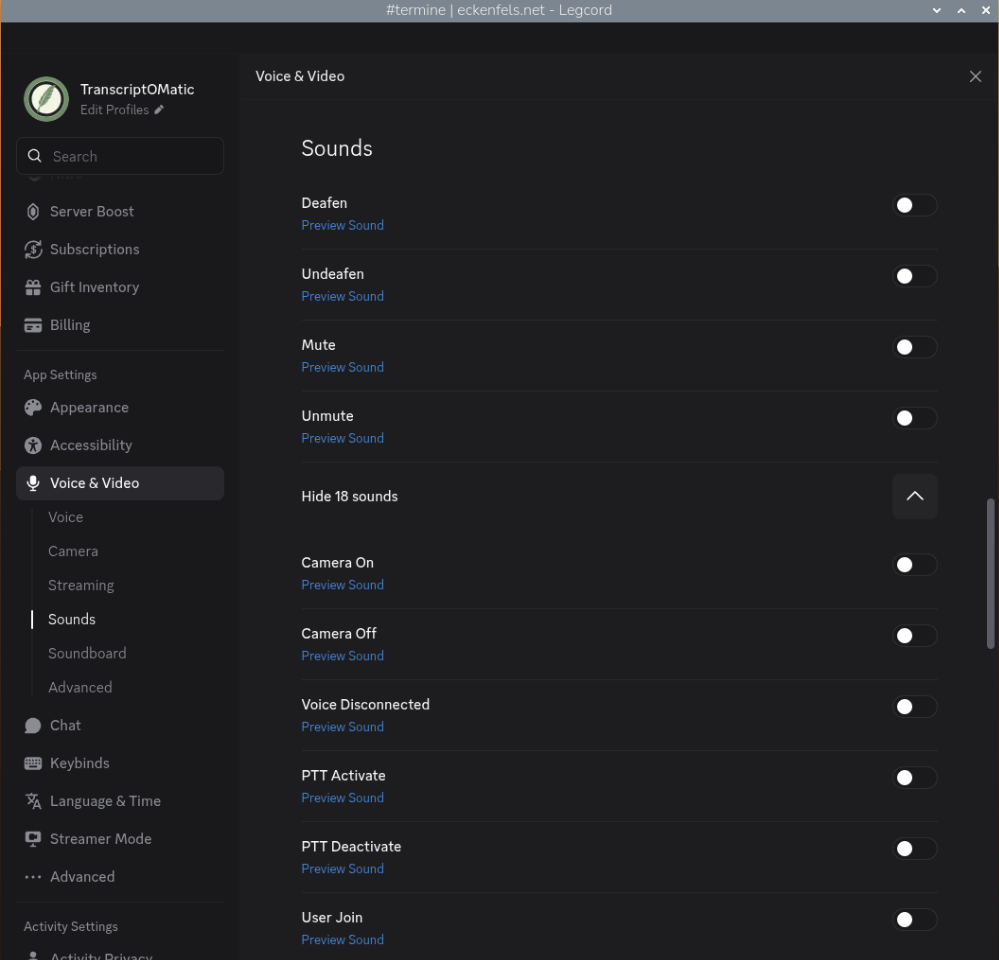](https://info.zusammenkunft.net/uploads/images/gallery/2026-02/discord-voice-and-video-settings-bhlzp74qzy.png) [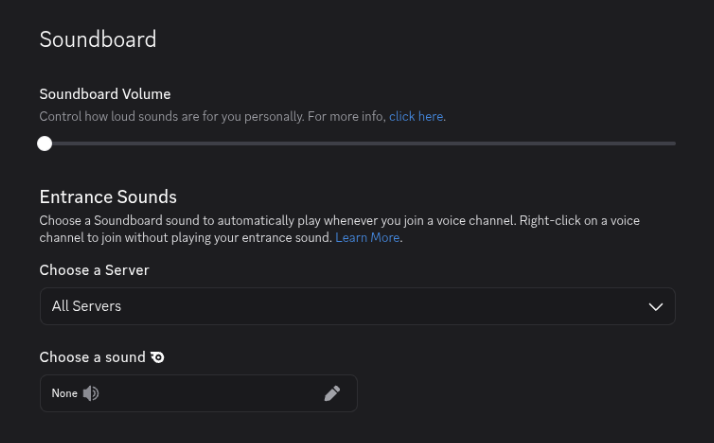](https://info.zusammenkunft.net/uploads/images/gallery/2026-02/soundboard-settings.png) # Setting-Up Files, Folders and Setting Permissions ##### Files & Folders Create the [recommended folder and file structure](https://info.zusammenkunft.net/books/how-to-set-up/page/structure "Structure"): ```bash cd $HOME; mkdir -p meetings/lib/ meetings/bin/ meetings/recordings/; touch meetings/bin/meeting-start meetings/bin/meeting-stop meetings/bin/meeting-follow; chmod 755 meetings/bin/meeting-start meetings/bin/meeting-stop meetings/bin/meeting-follow; touch meetings/lib/paths.sh meetings/lib/whisper.sh; ``` ##### Editing the Scripts Enter the [scripts](https://info.zusammenkunft.net/books/the-scripts "The Scripts")' contents into the prepared files using your preferred editor. If you are not comfortable using a command line editor like [vi ](https://www.cs.colostate.edu/helpdocs/vi.html)or [nano](https://www.nano-editor.org/dist/latest/nano.html), use any text or code editor on your main computer and copy the files by the way of [scp](https://linux.die.net/man/1/scp) or a [(s)ftp](https://www.sftp.net/clients) client onto the Raspberry Pi 500. ##### Checking the Scripts Are Executable Now check the permissions. `meeting-start`, `meeting-stop` and `meeting-follow` have to be executable. (This is done by `chmod 755` above.) ```bash ls -l meetings/bin/ ``` You should see a result like this: ```bash mela@Cox:~ $ ls -l meetings/bin/ total 20 -rwxr-xr-x 1 mela mela 526 Jan 11 08:51 meeting-follow -rwxr-xr-x 1 mela mela 4558 Feb 21 00:17 meeting-start -rwxr-xr-x 1 mela mela 2596 Feb 21 00:24 meeting-stop ``` `-rwxr-xr-x` means the file is executable (for user, group and world). ##### Adding the Scripts to the PATH environment variable Add $HOME/meetings/bin/ to the command line's path. ``` vi .bashrc ``` Add a last line: ``` export PATH="$HOME/meetings/bin:$PATH" ``` Save, and close the editor. Then load the updated `.bashrc` into your active session by entering: ``` source .bashrc ``` # (Optional) Activating VNCConsider this if you want to run TranscriptOMatic without a display hooked up to the device. VNC allows you to access the Raspberry Pi desktop remotely from another computer.
Log into your Raspberry Pi — either via `ssh` or via GUI, if you have a monitor (and keyboard) connected. On the GUI, open a terminal. Start `raspi-config`: ```bash sudo raspi-config ``` - Go to `3 Interface Options` - Go to `I3 VNC` - Choose `Yes` - Leave `raspi-config` [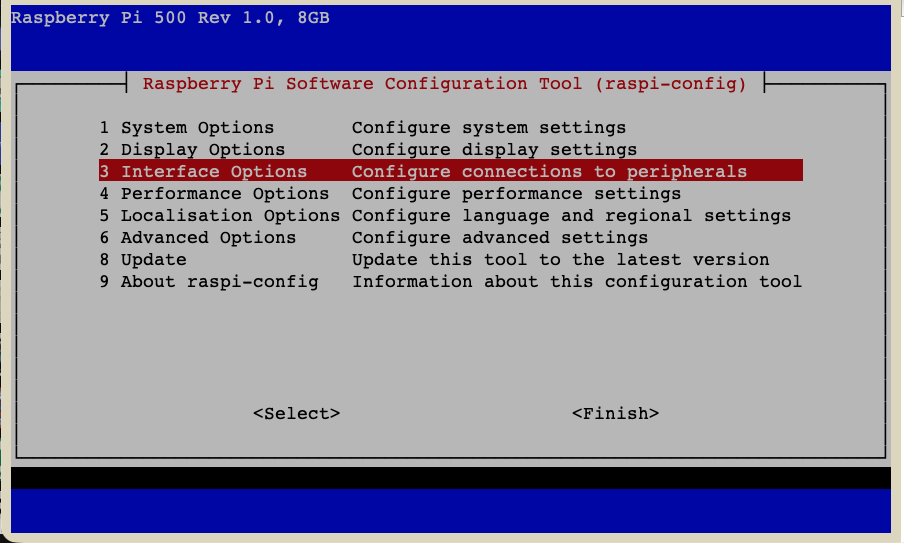](https://info.zusammenkunft.net/uploads/images/gallery/2026-02/raspberry-pi-configuration-tool-tcp4jtqww.png) [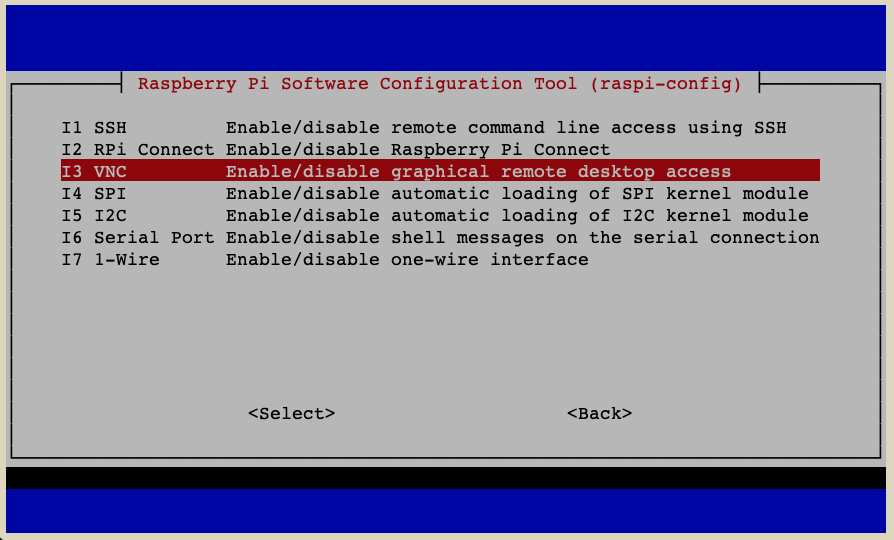](https://info.zusammenkunft.net/uploads/images/gallery/2026-02/raspberry-pi-configuration-tool-fngt6r-rdl.png) [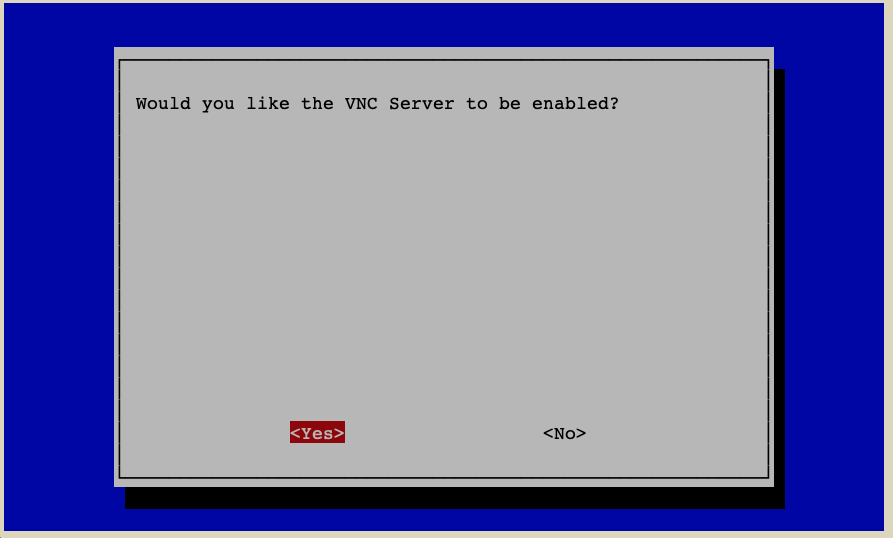](https://info.zusammenkunft.net/uploads/images/gallery/2026-02/vnc-server-enable-prompt.png) [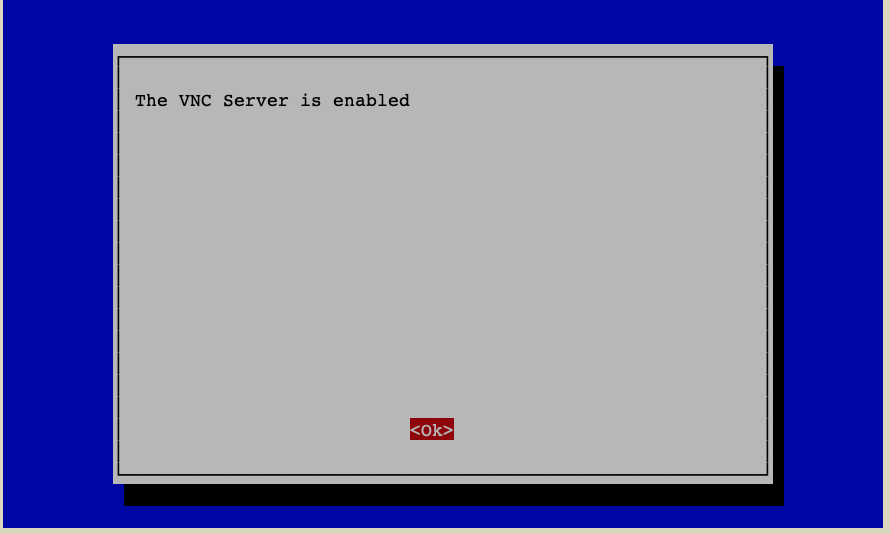](https://info.zusammenkunft.net/uploads/images/gallery/2026-02/vnc-server-enabled-message.png)